That awkward closet in your hallway. The laundry room with no storage. The bedroom closet where things just pile up because there’s nowhere to put them.
Sound familiar?
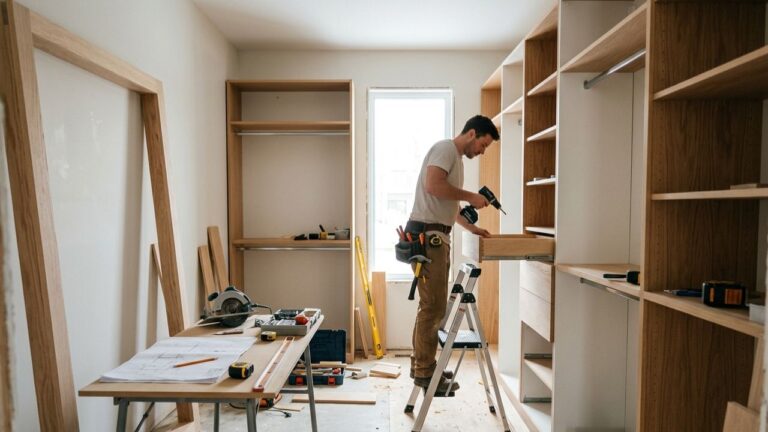
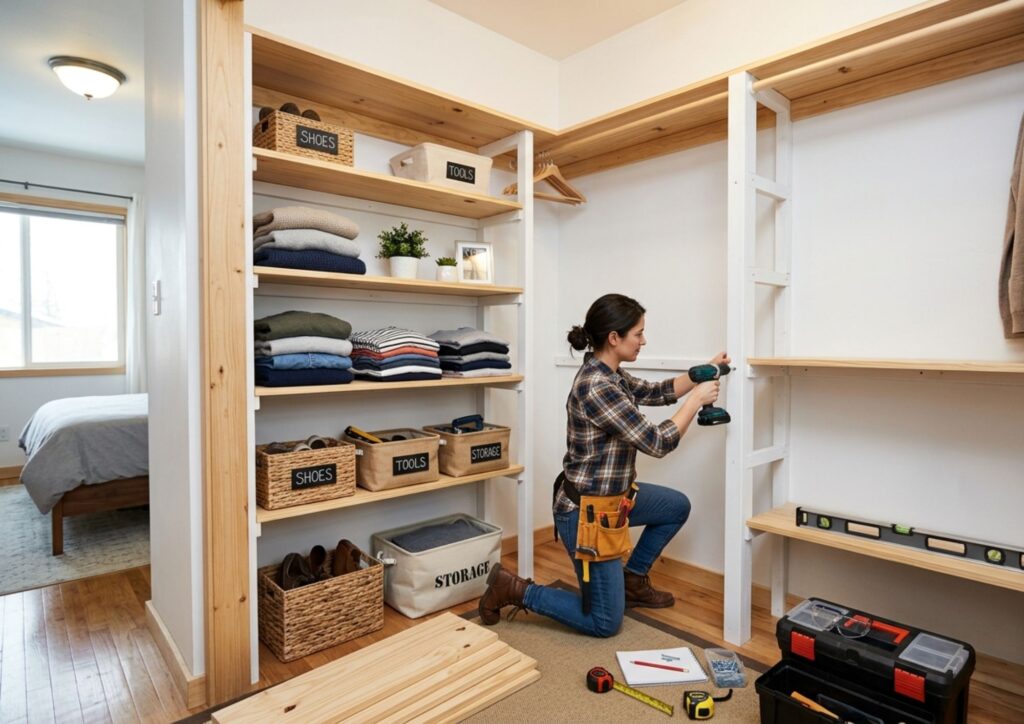
If you know how to build closet shelves, you can fix all of that often in a single weekend. You don’t need to be a contractor, and you don’t need a ton of tools. You just need a clear plan and the right steps.
Let’s walk through the whole process, from measuring your space to driving the last screw.
Why DIY Closet Shelves Are Worth the Effort?
Buying a pre-made shelving unit sounds easier until you get it home and realize it’s 2 inches too wide or too shallow to hold anything useful.
Built-in closet shelves solve that problem. You design around your actual stuff: your shoe sizes, your folded sweaters, your cleaning supplies. The shelves fit because you made them fit.
What You’ll Need Before You Start
Materials:
- Plywood or MDF boards (¾-inch thickness is standard for sturdy shelves)
- Wall cleats (1×3 or 1×4 pine boards)
- Wood screws (1¼-inch and 2½-inch)
- Sandpaper (120 and 220 grit)
- Wood filler
- Paint or stain (your choice)
Tools:
- Tape measure
- Level
- Stud finder
- Circular saw or miter saw
- Drill and drill bits
- Pencil
- Safety glasses
If you don’t own a saw, most hardware stores like Home Depot will cut boards to size for a small fee just bring your measurements.
How to Build Closet Shelves: Step by Step
Step 1: Measure Your Closet
This is the most important step. Measure the width, depth, and height of your closet. Write everything down twice.
Also think about what you’re storing. Hanging clothes need at least 40 inches of vertical clearance. Folded items or laundry room shelves can be spaced 12–16 inches apart. Shoes need about 7 inches per shelf.
Sketch a rough layout before buying anything. A simple pencil drawing is enough.
Step 2: Choose Your Shelf Material
For most closets, ¾-inch plywood or MDF works great. Plywood is stronger and handles heavier loads. MDF paints more smoothly but is heavier and doesn’t love moisture avoid it for laundry room shelves where humidity is a factor.
For laundry room shelves specifically, melamine-coated boards or moisture-resistant plywood are smarter choices. They wipe clean easily and won’t warp from steam over time.
Step 3: Find Your Wall Studs
Use a stud finder to locate the studs in your closet walls. Mark them with a pencil. Shelves anchored into studs are far more secure than those using only drywall anchors.
If your closet is narrow (under 30 inches wide), you can often use cleats on both side walls and skip the stud search entirely the side walls carry the load.
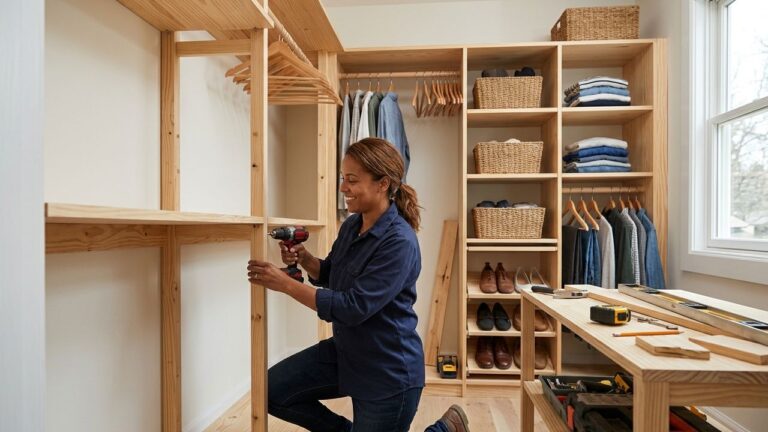
Step 4: Install the Wall Cleats
Cleats are the horizontal boards attached to the wall that your shelves actually rest on. Cut them to match the depth of your shelf (typically 12–16 inches).
Hold each cleat against the wall at your desired shelf height. Use a level to make sure it’s straight. Then drill pilot holes and drive screws into the studs. Use two screws per stud for solid support.
A good rule: always use at least two studs per cleat. If you only hit one, add a heavy-duty wall anchor on the other side.
Step 5: Cut and Sand Your Shelves
Cut your shelf boards to the width of your closet (or the section between side walls). Sand the edges smooth start with 120 grit, finish with 220. This makes a big difference when painting.
Fill any voids or rough spots with wood filler, let it dry, then sand again.
Step 6: Paint or Stain Your Shelves
Paint before you install. It’s much easier to coat all four sides on a workbench than to paint in a cramped closet.
Two coats of interior latex paint in a semi-gloss or satin finish works well for shelves. Semi-gloss wipes clean easily, which matters in a laundry room or pantry.
Step 7: Install the Shelves
Set each shelf onto its cleats. If the fit is snug against side walls, the shelf may stay in place on its own but a few screws driven down through the shelf into the cleat adds extra security.
Use a level again to confirm nothing shifted during installation. Small adjustments now save frustration later.
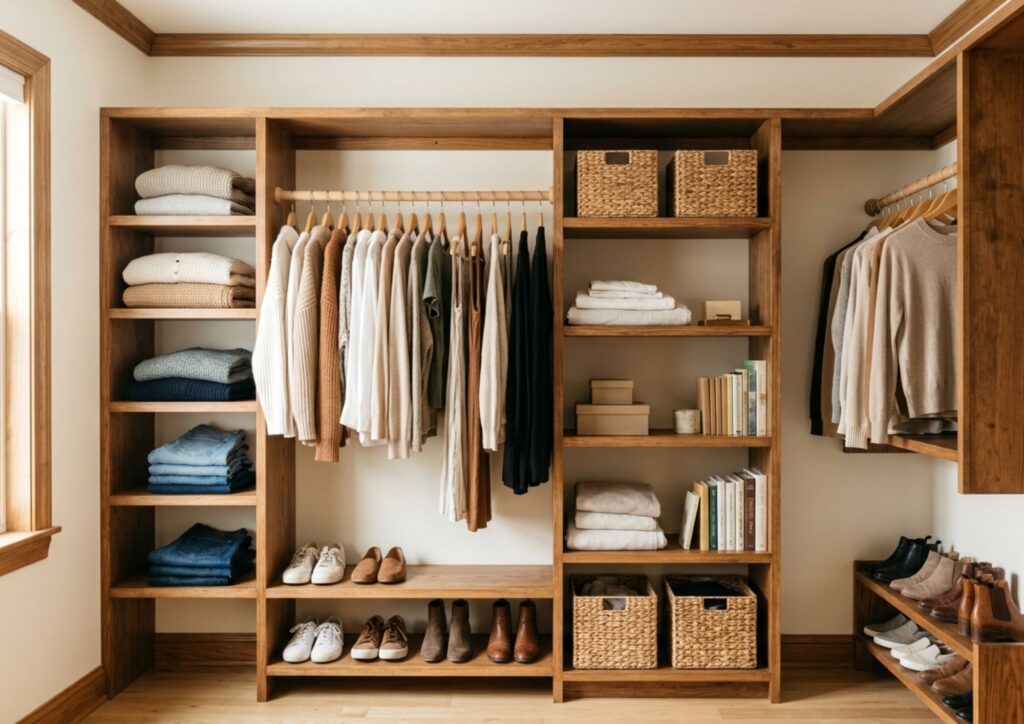
Step 8: Add Finishing Touches
Fill any screw holes with wood filler, let dry, and touch up with paint. Add shelf liner if you like it protects the shelf surface and keeps items from sliding around.
For custom closet shoe shelves, consider adding a slight downward tilt (about 5–10 degrees) to the shelves so shoes face outward and are easier to grab.
Tips for Building Laundry Room Shelves
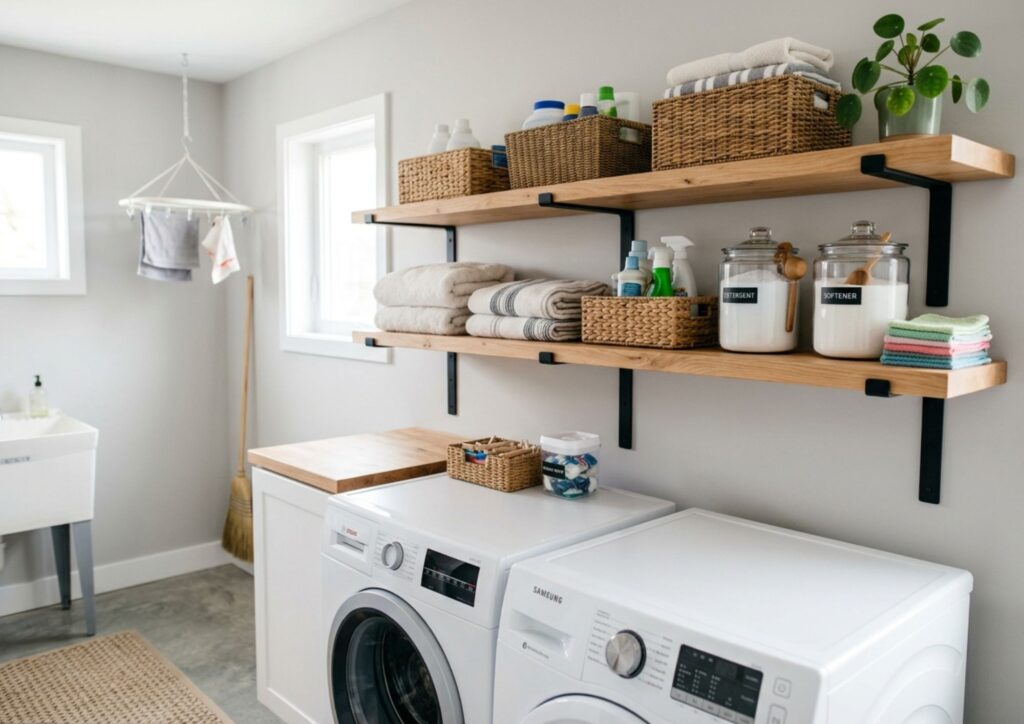
Laundry rooms have unique challenges: moisture, detergent spills, and the need for varied shelf heights (tall detergent bottles vs. small dryer sheets).
A few things that make a real difference:
- Use moisture-resistant materials. Melamine or PVC-laminated boards hold up better than bare MDF.
- Leave space above the washer and dryer. A floating shelf 18 inches above the machines gives you workspace without blocking the lids.
- Go taller than you think you need. Laundry rooms collect clutter fast. Extra vertical storage always gets used.
- Add a rod below one shelf for hanging freshly dried clothes it takes 30 seconds to install and saves a ton of wrinkling.
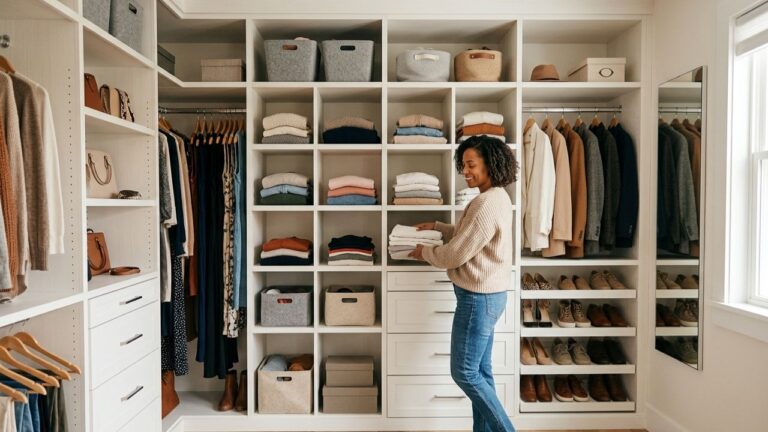
Built-In Closet Shelves vs. Freestanding Units
Here’s a quick comparison to help you decide what’s right for your situation:
Built-in closet shelves:
- Custom fit to your exact dimensions
- More stable and permanent
- Better use of corner and wall space
- Higher upfront effort, lower long-term cost
Freestanding shelving units:
- Faster to install
- Easy to move or reconfigure
- Often don’t use vertical space efficiently
- Can tip if not anchored
For most reach-in and walk-in closets, built-ins are the smarter long-term choice. They look cleaner, use more of the space, and stay put.
Common Mistakes to Avoid
A few things that trip up first-timers:
- Skipping the stud finder: Drywall anchors alone won’t hold loaded shelves. Always anchor into studs when possible.
- Not accounting for baseboard height: Your bottom shelf should sit above any baseboards. Measure from the floor to the top of the baseboard and start there.
- Cutting boards before measuring twice: Measure twice, cut once. It’s a cliché because it’s true.
- Overloading thin shelves: ¾-inch plywood spans up to about 36 inches without a center support. Longer spans need a center support cleat or a thicker board.
- Painting after installation: Always paint before. You’ll thank yourself.
Conclusion
Building closet shelves is one of the most rewarding weekend projects you can tackle. The work isn’t complicated it just takes a good plan, the right materials, and a little patience.
Whether you’re building laundry room shelves, custom closet shoe shelves, or a full set of built-in closet shelves for a walk-in, the steps are the same. Measure carefully, anchor into studs, and paint before you install.
Not a DIY person or just want it done right the first time?
The team at Custom Closets designs and installs custom built-in closet shelves tailored to your exact space. Browse their work at custom-closets.us or reach out directly — they’d love to help.
Have questions? Call or text at +1 (502) 592-5060 — they typically respond within 24 hours.
Ready to get started? Contact the team here:
FAQ Section
Most DIY closet shelves cost between $50 and $200 depending on size and materials. Plywood is typically $30–$60 per sheet, and a full set of hardware rarely exceeds $30–$40. It’s significantly cheaper than custom installation.
¾-inch plywood is the most popular choice it’s strong, relatively affordable, and holds screws well. MDF is cheaper and paints smoothly, but it’s heavy and doesn’t hold up well in damp areas. For laundry room shelves, go with moisture-resistant plywood or melamine board.
Standard closet shelves are 12 to 16 inches deep for folded clothing and accessories. For hanging clothes, 20–24 inches is better. Custom closet shoe shelves are usually 10–12 inches deep, which fits most footwear without wasting space.
Yes. Most hardware stores will cut boards to your specifications for a small fee (usually $1–$2 per cut). Bring a detailed cut list and double-check your measurements before going to the store.
Sagging happens when a shelf spans too far without support. As a rule, ¾-inch plywood should have a support every 32–36 inches. Add a center cleat or vertical divider for longer spans, or step up to thicker material.